Overall
The Data Acquisition Control is available only in the Data Acquisition Task.
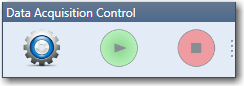
The control is consisted from three buttons:
- Configure the Data Acquisition Settings
- Start the Data Acquisition
- Stop the Data Acquisition
The Start button is enabled only if the Data Acquisition has been previously configured. Otherwise it is disabled.
The Stop button is enabled only if the Data Acquisition is running.
The Configure button is enabled only if the Data Acquisition is stopped i.e. no modifications are allowed during the Data Acquisition.
Once the monitoring is configured and started, the user can switch to another task. The application status bar contains information if the Data Acquisition is running  or not
  .
.
In case the Data Acquisition was started and the project was saved, the next time the project is loaded, the Data Acquisition will automatically restart.
Data Acquisition Wizard
Clicking on the Configure button will start up the Data Acquisition Wizard which will help you to configure the settings.
At the moment the Data Acquisition is consisted in Folder Monitoring.
Folder Monitoring
The Folder Monitoring Data Acquisition is based on monitoring a single folder for changes i.e. for incoming files from a specified type.
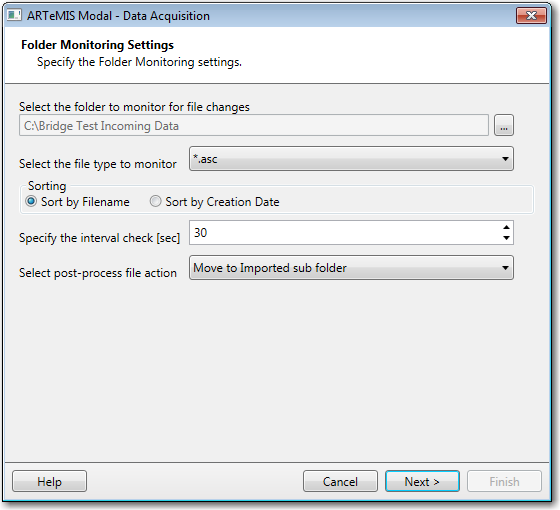
The Folder Monitoring settings are consisted from the following:
- Folder to monitor for changes i.e. where the new data will be dropped. The sub-folders are not taken into a consideration only the root of the selected folder.The folder can be a local or a shared directory, but it is mandatory that the application has Read/Write access rights on the whole folder.
- File Types to monitor allows the user to specify the type of files that should trigger the import.
- Sorting: In case of multiple files are available in the monitored folder, then the user can define the priority for the files import by defining if the files should be sorted by their filename or creation date.
- Interval check specifies how long should the application wait before checking the folder for new files. Setting this value too low can trigger unnecessary processing and bandwidth allocation. Depending on your project type and the expected frequency of the incoming files, try to set this value as high as possible.
- Post-process action is performed on the file which has already been imported and processed. To avoid having a lot of files which are already imported the user can select between these three options:
- Move the imported file to a folder named "Imported"
- Rename the file by appending the ".BAK" extension
- Delete the imported file
File TypesIn case of multiple files
Data Acquisition Destination
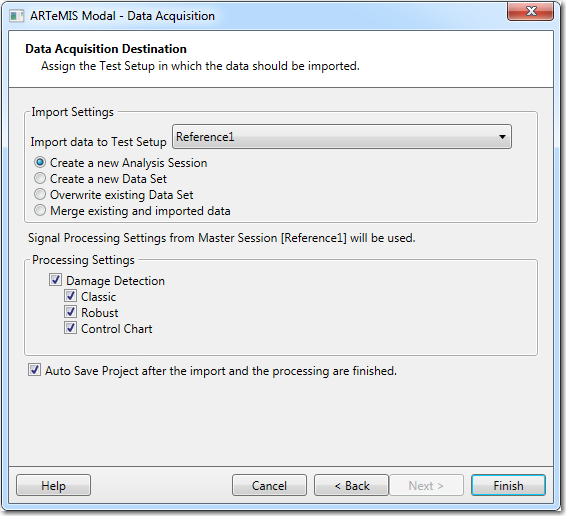
Once the Folder Monitoring Settings are defined i.e. we have specified the input data, now it is time to specify what to do with that data.
In the Import Settings section we can select the Test setup in which we want to import the data. Additionally we can choose how we want this data to be imported. The Analysis Session is available only if the Damage Detection Plug-in is available.
In case a Master Session is defined, then the new imported data will be processed using the Signal Processing Settings defined in the Master Session. Otherwise no Signal Processing is performed.
In case the application is left unattended for a longer period of time during which many time consuming operations like importing and processing large files are performed, then it is recommended that the Auto Save is enabled.
This will prevent loosing the latest changes made to the project.